Table of Contents
Creating a seamless 3-part banner for your Instagram profile is a fantastic way to make your profile stand out and deliver a cohesive visual message. With Canva, this process is simple and efficient. In this guide, we’ll walk you through the steps to create and post your banner.
Step 1: Setting Up Your Canvas in Canva
- Open Canva: Start by logging into your Canva account. If you don’t have one, sign up for free.
- Create a Custom Design: Click on “Create Design” and select “Custom Size”. Enter a width of 3240 pixels and a height of 1080 pixels. This size will create a template suitable for splitting into three equal parts for your Instagram posts.
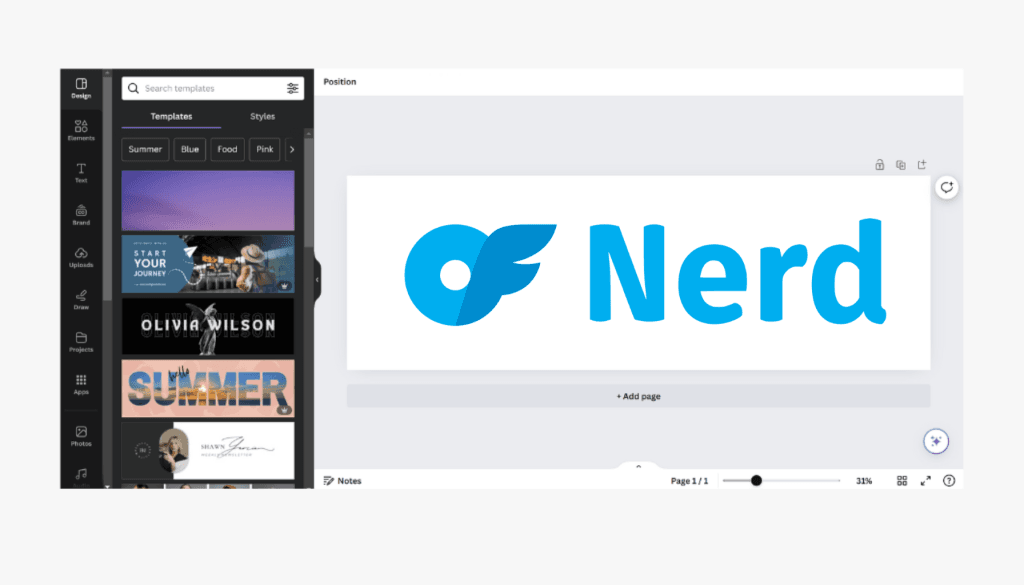
- Design Your Banner: Canva offers various templates under the “Design” tab. You can choose one of these templates or create your own design using your images, fonts, and colors. Ensure your design flows seamlessly across the entire width of the canvas.
Step 2: Downloading Your Design
- Download Your Design: Once you’re satisfied with your banner, click on “Share” and then “Download”. Choose the PNG format for the best quality. Make sure you select the correct page if you have multiple pages in your project.
Step 3: Splitting Your Banner
- Visit Imagey.app: Go to Imagey.app, a free online tool for splitting images.
- Upload Your Image: Click to upload the PNG file you downloaded from Canva.
- Split Vertically: Set the split to vertical and choose the number of blocks as three. Preview the split to ensure it looks correct.
- Download Split Images: Click download. This will provide you with a zip file containing the three separate images.
- Extract Images: If you’re on a desktop, extract the files from the zip archive. You’ll now have three images ready to post.
Step 4: Posting to Instagram
- Post Images: Upload the three images to Instagram in the correct order. This means the leftmost image (part 1) first, followed by the center image (part 2), and then the rightmost image (part 3).
- Pin Your Posts: After posting each image, tap the three dots in the top right corner of the post. Select “Pin to Profile”. Pin the images in sequence (first, second, third) to ensure they appear correctly on your profile.
Step 5: Enjoy Your New Instagram Banner
Once all images are posted and pinned, your Instagram profile will showcase a seamless 3-part banner, creating a striking visual impact.